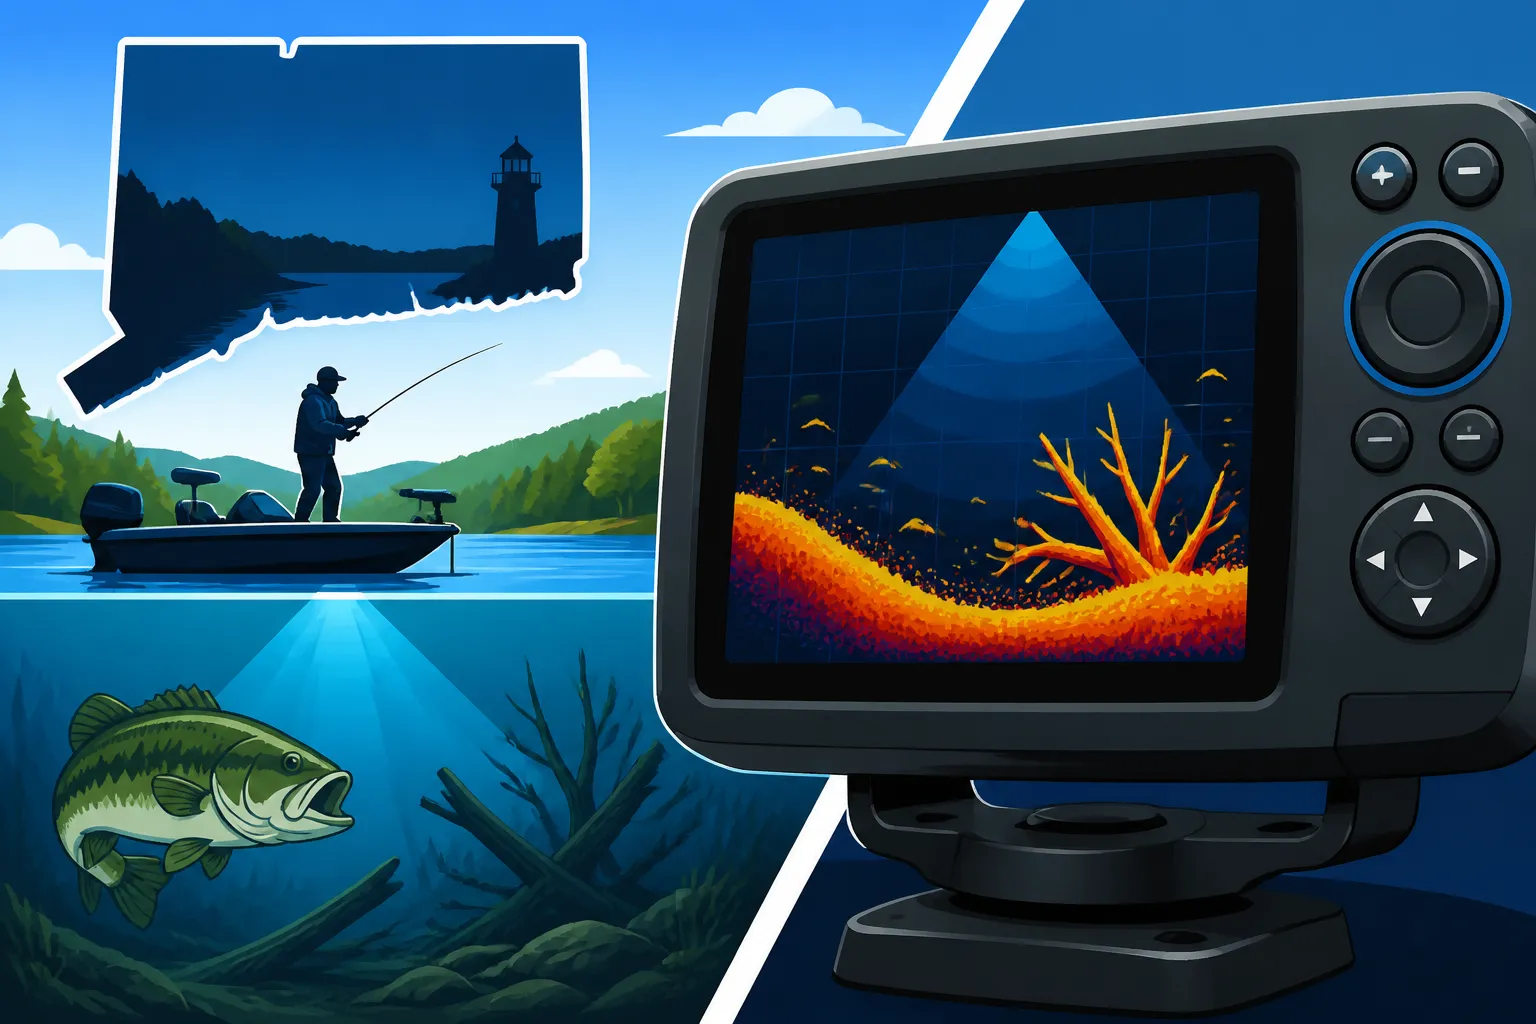
Best sonar settings for finding structure on Candlewood Lake
Anyone who's spent time chasing fish on a large, complex body of water like Candlewood Lake knows the frustration: you know there are fish holding to structure, but actually finding that structure with your sonar can feel like trying to find a needle in a haystack. This guide is all about cutting through that confusion, helping you master your sonar settings to reveal every hidden hump, ledge, brush pile, and weed edge that holds fish on Candlewood Lake.
Understanding Sonar Basics for Structure Detection
Before we dive into tweaking specific settings for Candlewood Lake, it's crucial to understand the fundamental principles of how your sonar unit actually "sees" underwater. Think of it like learning the alphabet before you can read a book; once you grasp these basics, interpreting your screen becomes far more intuitive and less like guesswork.
How Different Sonar Frequencies Work
Your sonar unit isn't just sending out one type of sound wave; it's often using multiple frequencies, each with its own strengths and weaknesses. Understanding these can make a huge difference in what you see and how clearly you see it.
Traditional 2D sonar often operates on frequencies like 200 kHz or 83 kHz. A 200 kHz beam provides a narrower cone angle, meaning it gives you a more detailed, "tight" view directly beneath your boat. This is fantastic for identifying individual fish, distinguishing between closely spaced objects, and getting clear returns in shallower water, say, when you're probing the edges of a cove for bass on Candlewood. However, because the cone is narrower, it covers less area, and as you go deeper, the cone expands, but the detail can get spread out.
On the other hand, an 83 kHz beam uses a much wider cone angle. This allows it to cover a significantly larger area of the bottom, making it excellent for searching wide swaths of water quickly, or for penetrating deeper into the water column. The trade-off is less detail; you might see a school of baitfish or a large rock pile, but discerning individual fish within the school or the exact contours of the rocks can be harder. For general scouting of deeper areas on Candlewood Lake, especially if you're looking for larger structural features, the 83 kHz can be a real asset.
Then we have CHIRP sonar, which is a game-changer. Instead of sending out a single frequency, CHIRP sends a continuous sweep of frequencies (from low to high) within a specified range. This advanced technology processes the returns from all those frequencies, resulting in incredibly improved target separation, less noise, and much clearer, crisper images on your screen. When you're trying to differentiate between a fish holding tight to a submerged tree branch or a small rock near a larger boulder on Candlewood, CHIRP sonar shines. It helps remove much of the guesswork, giving you a more photographic interpretation of the underwater world. Many modern units from brands you might find on Amazon offer excellent CHIRP capabilities, making them highly effective tools for detailed structure analysis.
Interpreting Your Sonar Screen
Reading your sonar screen is a skill that improves with practice, but there are some universal indicators that can help you decipher what's beneath your boat. The primary goal is to distinguish between fish, bait, and the actual bottom structure, and then to understand the composition of that structure.
First, let's talk about the bottom itself. Hard bottoms, like rock, gravel, or compacted sand, will typically show up as a thicker, more intense, and often brighter line on your screen, with a strong "second return" (an echo of the bottom that appears below the actual bottom line). Softer bottoms, such as mud or silt, will appear as a thinner, less intense line, and the second return will be weaker or even absent. On Candlewood, where you have a mix of rocky areas and silty coves, learning to differentiate these quickly tells you a lot about potential fish habitat. Largemouth bass might prefer softer, weedy bottoms in shallower coves, while smallmouth bass and trout often relate to harder, rocky structures in deeper water.
Fish typically appear as arches or inverted U-shapes. A crisp, well-defined arch usually indicates a fish directly under your transducer's cone. Shorter or partial arches might be fish on the edge of the cone or fish that quickly swam through. The size of the arch can give you a clue about the size of the fish, and its position relative to the bottom tells you if it's suspended or hugging the structure. Baitfish schools, on the other hand, often show up as dense clouds or balls on your screen, sometimes so thick they obscure the bottom entirely. These "bait balls" are like magnets for predatory fish, and finding them is often key to finding active schools of bass or trout on Candlewood.
Finally, understanding thermoclines can be a secret weapon, especially in deeper lakes like Candlewood during the warmer months. A thermocline is a distinct layer in the water column where the temperature changes rapidly with depth. On your sonar, it often appears as a horizontal line or a hazy band. Fish, particularly trout and sometimes bass, will often orient themselves above, on, or just below the thermocline, as it usually indicates the most comfortable oxygen and temperature levels. Recognizing this layer helps you narrow down the productive depth ranges and focus your fishing efforts.
Optimizing Your Settings for Candlewood Lake's Unique Features
Candlewood Lake isn't just any lake; its varied depths, mix of clear and stained water, and diverse underwater topography demand specific sonar adjustments. Blanket "auto" settings might work some of the time, but truly unlocking the lake's secrets means getting hands-on with your sonar's controls.
Adjusting Sensitivity and Gain for Clarity
The sensitivity (or gain) setting is arguably the most critical adjustment on your sonar unit. It controls how much detail your unit displays by amplifying the returning echoes. Too low, and you'll miss faint returns from fish or subtle structure; too high, and your screen will be cluttered with noise, making it impossible to discern anything useful.
On Candlewood Lake, water clarity can vary depending on the season, recent rainfall, and even the specific arm of the lake you're fishing. In clearer conditions, you might be able to run your sensitivity a bit higher without excessive noise. If the water is stained or murky, you might need to dial it back slightly to avoid picking up suspended particles. The goal is always to find that sweet spot: high enough to see small targets and soft returns, but low enough to maintain a clear image free of clutter.
A good starting point is to put your unit on auto-gain, and then, while moving, slowly increase the manual gain until you start seeing noise or clutter on the screen. Then, back it off just a touch until the screen is clean. This "max sensitivity, minimum clutter" approach is a great way to ensure you're getting the most information possible. It takes practice, but the difference it makes in spotting subtle changes in bottom composition or faint bait schools is enormous. Remember, every fishing trip, and sometimes even different areas of the lake on the same trip, will require slight adjustments.
Utilizing Side Imaging and Down Imaging for Precision
If you're serious about finding structure on Candlewood Lake, especially for species like smallmouth bass that love to relate to obscure bottom features, Side Imaging (SI) and Down Imaging (DI) are indispensable tools. These technologies provide incredibly detailed, photographic-like views that traditional 2D sonar simply can't match.
Down Imaging offers a crystal-clear, almost photo-like view directly beneath your boat. It excels at showing you the precise shape and density of structure directly below. If you're idling over a suspected brush pile, a large boulder, or a crib, DI will display it with stunning clarity, allowing you to see individual branches, rocks, or even fish tucked tightly into the cover. This is particularly useful for confirming what your 2D sonar is picking up or for dissecting specific pieces of cover. For example, if your 2D shows a blob, DI can reveal if it's a tight school of bait or a gnarly timber pile.
Side Imaging, however, is where the true power of structure searching comes into its own. While DI shows you what's under the boat, SI extends your vision out to the sides, often up to 100 feet or more on either side, depending on your unit and settings. This means you can cover a massive amount of water with each pass, scanning for hidden ledges, subtle drop-offs, isolated rock piles, or submerged timber that you would easily miss with traditional 2D sonar. Imagine cruising slowly down a shoreline on Candlewood and being able to see all the way to the other bank's drop-off, revealing a series of small humps or rock beds that aren't on any map. This is exactly what Side Imaging provides.
When using SI on Candlewood, adjust your range (how far out to the sides you're scanning) based on the depth and the type of structure you're looking for. In shallower coves, a shorter range (e.g., 50 feet per side) will give you better detail. In deeper, more open areas, you can extend that range to cover more ground. The key is to run parallel to suspected structure or contours, allowing the SI to paint a picture of the bottom. Many anglers find the best transducers for these advanced features on Amazon, ensuring they have the right equipment for maximum clarity.
Selecting the Right Frequency for Depth and Detail
Modern sonar units often allow you to select or switch between various frequencies for your 2D sonar, or they employ CHIRP technology that sweeps through a range. Making smart choices here can significantly enhance your ability to find structure across Candlewood Lake's diverse depths.
For depths of 0-30 feet, which often characterize the shallower coves, shoreline breaks, and certain humps on Candlewood, high-frequency CHIRP (e.g., 180-220 kHz) or a dedicated 200 kHz traditional sonar beam will provide the best detail and target separation. This is crucial when you're trying to pick out a small rock pile amidst weeds or identify a single fish tucked into cover. The narrower cone angle at these higher frequencies means less bottom coverage but extremely high resolution.
As you move into moderate depths, say 30-70 feet, which is common in many of Candlewood's main lake points and humps, a mid-range CHIRP (e.g., 80-160 kHz) or a dual-beam setting using both 83 kHz and 200 kHz offers a great balance. The wider 83 kHz can help you identify broader structural features and schools of fish, while the 200 kHz provides detail for anything directly under the boat. If you're trying to find a distinct depth where trout might be holding in the middle of the lake, this mid-range can be very effective.
For the deepest basins and channels of Candlewood, sometimes exceeding 100 feet, low-frequency CHIRP (e.g., 28-75 kHz) or a dedicated 50 kHz beam (if your unit supports it) will offer the best penetration. At these depths, detail becomes secondary to simply getting a clear return from the bottom and identifying any major changes in contour or large suspended fish. The wider cone of lower frequencies also helps you maintain bottom lock in deeper water. Many units allow you to run multiple frequencies simultaneously or switch between them with a touch, giving you dynamic control over your view of the lake.
Advanced Sonar Techniques for Specific Structure Types
Finding structure isn't just about turning on your sonar and hoping for the best. It's about developing a strategic approach, using specific techniques to pinpoint the subtle nuances that hold fish. Candlewood Lake offers a variety of underwater topography, and each type of structure requires a slightly different approach with your sonar.
Pinpointing Submerged Humps and Ledges
Humps and ledges are absolute magnets for fish, offering changes in depth, current breaks, and ambush points. On Candlewood, where the bottom can be quite irregular, finding these features is paramount for both bass and trout.
Start by using detailed mapping on your unit, if available, to identify potential areas where contours change rapidly or where isolated high spots are indicated. Once you have a general area, switch to your Side Imaging. Make wide, overlapping passes over the area, running parallel to the suspected contour lines. This allows your Side Imaging to "paint" a detailed picture of the bottom, revealing the exact shape, size, and composition of humps and ledges that might be too subtle to show up clearly on traditional 2D sonar from directly overhead. Look for hard edges, rock piles on top of humps, or scattered boulders along ledges.
After Side Imaging has revealed interesting features, use your Down Imaging and 2D sonar for a closer inspection. Idling slowly over a marked hump or ledge, pay attention to the intensity of the bottom return on your 2D sonar (indicating hard vs. soft bottom) and the clarity of detail on your DI. Mark waypoints precisely on your unit for any promising structures, noting details like depth, associated baitfish, or fish arches. Sometimes, even a slight change in elevation of just a few feet can hold a school of fish. For a deeper dive into effective strategies for this lake, check out our Candlewood Lake Fishing Guide.
Locating Deep Water Brush Piles and Timber
Submerged brush piles and timber are notoriously difficult to find with traditional sonar, but they are often teeming with fish, especially largemouth bass on Candlewood. The issue is that wood often blends in with the water column, and its irregular shape can make for confusing returns.
Side Imaging is your best friend here. Because it casts a long, thin beam to the sides, it can pick up the shadows created by vertical structures like tree trunks or the scattered branches of a brush pile. Set your SI range to about 75-100 feet per side and run wide search patterns in areas where you suspect timber, such as old creek channels, steep banks, or the mouths of coves. Look for unnatural bumps or shadows extending out from the bottom. When you spot something, swing back and make several passes from different angles to confirm it's truly wood and not a natural rock formation.
Once you've identified a brush pile with SI, use your Down Imaging to get a clear, detailed look at the structure directly beneath your boat. Fine-tune your gain and contrast settings to bring out the individual branches and any fish holding within or around them. You might need to increase your gain slightly more than usual to get good returns from the wood. These hidden sanctuaries are often the best spots to find concentrations of fish that others miss. Anglers looking to improve their odds might also consider our Best Bass Fishing Techniques for Candlewood Lake.
Identifying Rock Piles and Boulders
Rock piles and scattered boulders are classic fish-holding structure, particularly for smallmouth bass and trout. They provide cover, ambush points, and attract baitfish.
On your 2D sonar, rock piles will typically appear as very strong, thick, and often irregular bottom returns. You'll likely see a very pronounced second return below the main bottom echo, indicating the hardness of the structure. However, 2D can sometimes flatten a rock pile, making it look more like a hump.
This is where Down Imaging truly shines. Idling slowly over an area with strong 2D returns, your DI will reveal the actual shape and texture of the rocks, allowing you to distinguish between a smooth, solid rock slab and a jagged pile of boulders. Look for areas where rocks transition to sand or mud, as these "edges" are often key feeding zones.
Side Imaging can also be used effectively by running parallel to shorelines or prominent points, looking for areas where rock formations extend out into deeper water or where isolated boulders scatter across a flat. Once identified, mark these spots precisely. Remember, sometimes the biggest fish are not on the main rock pile itself, but just off to the side, waiting in ambush.
Finding Deep Weed Lines and Grass Beds
While shallower weeds are easy to spot, finding healthy, productive weed lines and grass beds in deeper water on Candlewood can be more challenging, yet incredibly rewarding for largemouth bass. These deeper weeds often signify a comfortable temperature and oxygen zone for fish.
Your Side Imaging is incredibly effective for mapping deep weed lines. The sonar signal struggles to penetrate dense vegetation, so healthy weeds will appear as solid, often fuzzy or textured, masses on your SI screen, contrasting sharply with bare bottom. You can easily track the contours of these weed beds, identify pockets, points, and inside turns — all prime locations where bass will stage. Adjust your SI range to scan a wider area and look for the darkest, most defined weed edges.
On your 2D and Down Imaging, healthy weed beds will appear as distinct vertical lines or a "grass-like" texture rising from the bottom. Pay attention to the height and density of these returns. Lush, green weeds typically show a stronger, more defined return than sparse or dying vegetation. Look for points or irregularities in the weed line, or areas where the weeds meet a harder bottom type. These transitions are key. Understanding the seasonal patterns of fish is also helpful here; consult our guide on Best Time to Fish Candlewood Lake in Summer for more context.
Troubleshooting Common Sonar Challenges
Even with the best units and settings, you might occasionally encounter issues with your sonar. Understanding how to diagnose and address these common challenges will save you a lot of frustration and ensure you're always getting the clearest picture of Candlewood Lake's underwater world.
Dealing with Interference and Noise
Nothing is more frustrating than a screen full of static, lines, or streaks that obscure actual fish and structure. This "noise" or interference can come from several sources.
One of the most common culprits is electrical interference from other electronics on your boat, like your trolling motor, bilge pump, or even engine wiring. These devices can emit electrical signals that interfere with your sonar's sensitive transducer. To diagnose this, try turning off other electronics one by one and observe if the noise on your sonar screen diminishes. Solutions often involve ensuring proper grounding for all your electrical components, isolating power sources, or adding suppression filters.
Another source can be interference from another transducer, especially if you have multiple units on your boat (e.g., a bow-mounted trolling motor transducer and a transom-mounted one). Many units have settings to "ping" at different frequencies or to offset their ping cycles, which can reduce cross-talk. If you're on Candlewood and notice strange patterns, try adjusting the frequency of one unit slightly.
Finally, a dirty or improperly mounted transducer can also cause interference. Marine growth, air bubbles, or even a scratch on the transducer face can disrupt the sound waves. Regularly inspect and clean your transducer. For optimal results, check out our advice on Best boat ramps on Candlewood Lake to ensure you're launching safely and can inspect your equipment.
Maximizing Transducer Performance
Your transducer is the "eye" of your sonar system; if it's not performing optimally, neither will your screen display. Proper installation and maintenance are key.
First and foremost, the transducer must be mounted correctly. For transom-mounted transducers, it needs to be in clean, non-turbulent water. This means no obstructions directly in front of it (like strakes or hull fittings), and it should be deep enough to stay submerged at speed but not so deep it creates excessive drag. An improperly mounted transducer will often give you a clear reading at idle but lose the bottom at higher speeds, or produce a lot of rooster tail spray. If you're having trouble maintaining a clear image while running across Candlewood, transducer placement is the first thing to check.
Keeping the transducer face clean is also vital. Marine growth, slime, or even just dirt can significantly impede the transducer's ability to send and receive sound waves effectively. A soft cloth and mild soap are usually sufficient for cleaning. Never use abrasive cleaners or sharp objects, as you could damage the delicate transducer face.
Sometimes, despite best efforts, older transducers or those that have taken a few bumps might need replacement. Or, you might want to upgrade to a newer transducer that supports advanced features like high-frequency CHIRP, Side Imaging, or Down Imaging, especially if your current unit is capable but your transducer is holding it back. Searching for "sonar transducers" on Amazon will show a wide array of options for different brands and technologies, which can significantly enhance your unit's performance on a lake like Candlewood.
Software Updates and Settings Reset
Just like your smartphone or computer, your sonar unit's software is constantly being refined. Manufacturers regularly release firmware updates that can improve performance, add new features, fix bugs, and enhance the clarity of your sonar returns.
It's a good practice to periodically check your unit manufacturer's website for the latest software updates. Most updates can be downloaded to an SD card and then easily installed on your unit. Running outdated software could mean you're not getting the best possible performance or benefiting from the latest processing improvements that could make a difference in identifying specific structures on Candlewood Lake.
Finally, if you've been fiddling with settings for a while and your screen just looks "off" or cluttered, don't be afraid to perform a factory reset. This will revert all your settings to the manufacturer's defaults, giving you a clean slate. Sometimes, an accumulation of small, incorrect adjustments can make things worse. After a reset, you can slowly re-adjust your sensitivity, range, and other preferences, starting with the basic recommendations we've discussed. This can be a surprisingly effective way to troubleshoot persistent display issues.
| Sonar Type | Best Use Case for Candlewood Lake | Ideal Depths (Approx.) | Key Advantages |
|---|---|---|---|
| Traditional 2D | General bottom tracking, identifying fish arches | All depths | Good for fish arches, basic bottom contour |
| CHIRP 2D | Superior target separation, clearer fish arches, less noise | All depths | Excellent clarity, separates fish from structure |
| Down Imaging | Photo-like detail of structure directly under boat | 0-100+ ft | Reveals brush piles, boulders, cribs with precision |
| Side Imaging | Scanning wide areas for hidden structure away from the boat | 0-75 ft (per side) | Locating ledges, timber, weed lines, humps |
| High Frequency | Shallow water detail, individual fish | 0-30 ft | Sharpest image, best for precise targeting |
| Low Frequency | Deep water penetration, wider coverage | 30-200+ ft | Maintains bottom lock in extreme depths |
For anyone venturing out on Candlewood, understanding these sonar settings and techniques will dramatically improve your ability to find fish-holding structure. Don't be afraid to experiment and fine-tune your unit to match the conditions and the specific type of fishing you're doing. It's a journey, not a destination, but with these tips, you're well on your way to becoming a sonar master on Candlewood Lake.
Disclaimer
This article is for general informational purposes only and does not constitute professional advice. Laws, prices and regulations vary by location and change over time. Consult a qualified professional for guidance on your specific situation.