Jigging for Fluke in Long Island Sound
There's nothing quite as frustrating as heading out to Long Island Sound, armed with your best intentions and shiny new jigs, only to feel like you're just dragging metal through the water with no bites. Many anglers struggle to really dial in their jigging technique for fluke, often missing the subtle cues that lead to a successful day. This comprehensive guide will walk you through everything you need to know about jigging for fluke in Long Island Sound, from understanding their behavior to mastering the techniques that put fish in the cooler.
Understanding Fluke in Long Island Sound
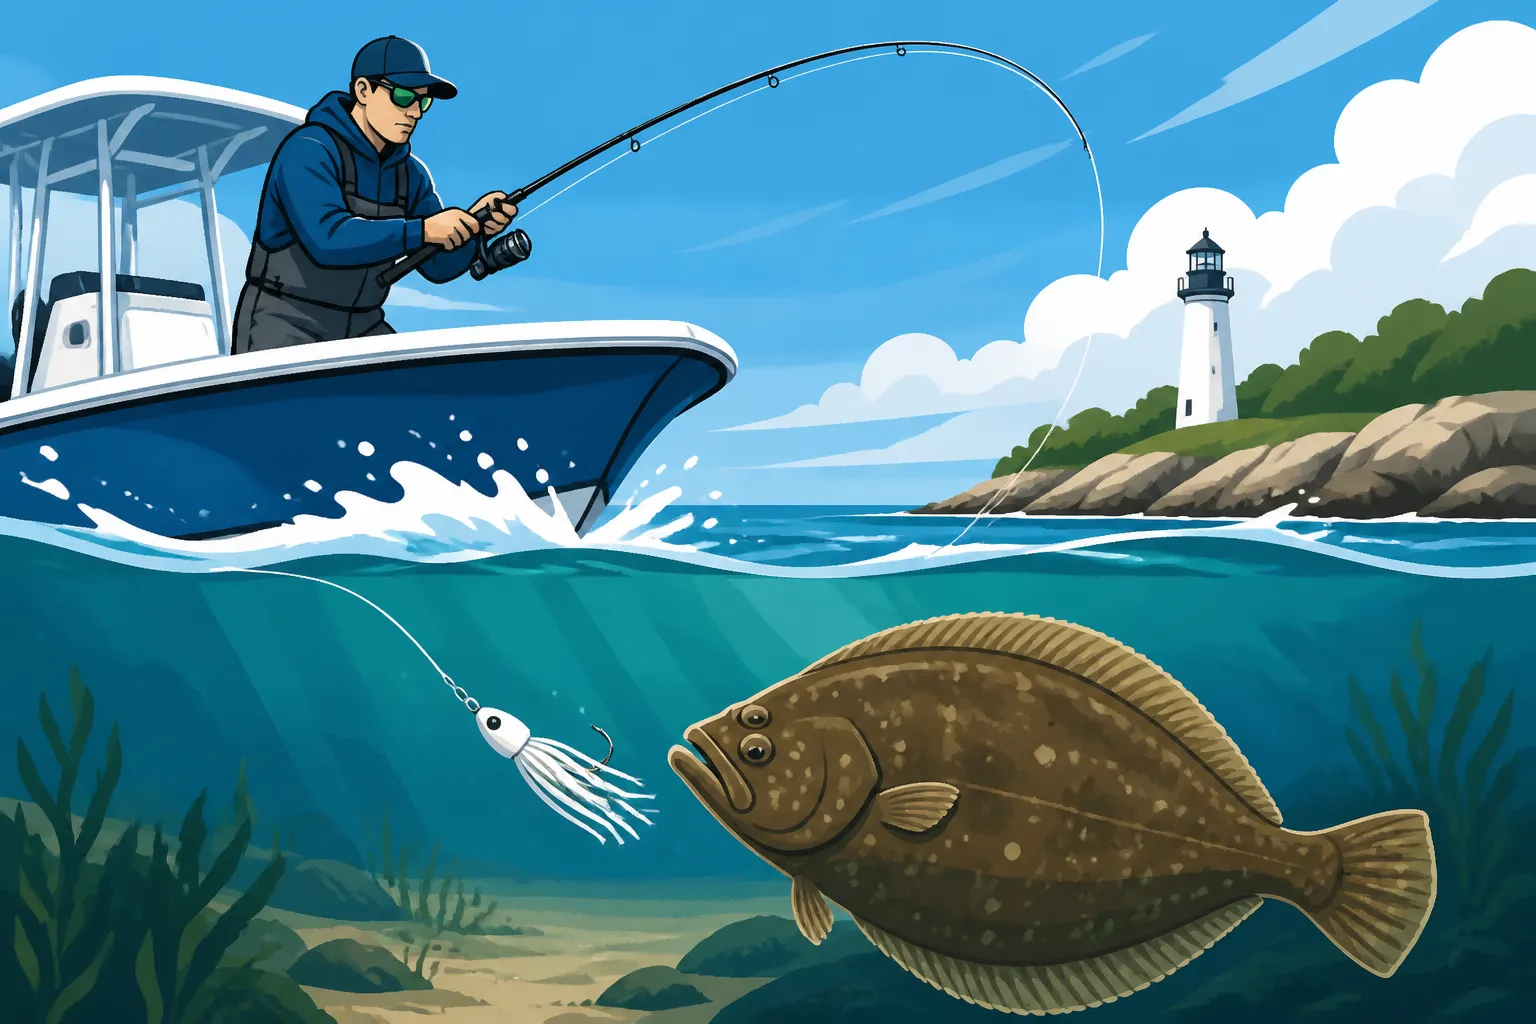
Before you can effectively jig for fluke, you really need to get inside their heads – or, more accurately, understand their environment and habits. Fluke, also known as summer flounder, are masters of camouflage and ambush predators, meaning they're not usually chasing bait all over the place. They lie in wait, half-buried in the sandy or muddy bottom, ready to dart out and snatch an unsuspecting meal.
Fluke Habits and Preferred Habitat
Fluke are creatures of comfort, and that comfort often means specific bottom structures and water conditions. They love a good ambush point. Think about it: if you're a flat fish trying to surprise your prey, you want some sort of cover or current break. That's why you'll often find them congregating around changes in bottom topography.
For instance, they absolutely adore transition areas where sand meets rock, or where a deep channel suddenly gives way to a shallower flat. These spots create natural current breaks and eddies, which are perfect for a fluke to settle in and wait. Shell beds, mussel beds, and even subtle humps and bumps on an otherwise flat bottom are like five-star resorts for these fish. They use these features to conceal themselves, letting the current bring their prey right to them. Understanding the specific Fluke Habits in Long Island Sound can dramatically improve your success rate.
Water temperature plays a huge role, too. As their name "summer flounder" suggests, they prefer warmer waters, typically moving into Long Island Sound in late spring as temperatures climb, and staying through the fall. During the peak summer months, when shallow waters might get a bit too toasty, they tend to move to deeper, cooler channels or around offshore structures. Conversely, in the spring and fall, you might find them in shallower bays and estuaries where baitfish are abundant and temperatures are more to their liking. Knowing these seasonal movements is crucial for knowing where to drop your jig.
Best Times and Tides for Jigging Fluke
Timing is everything when it comes to fluke jigging in the Sound. You can have the perfect gear and technique, but if you're not there when the fluke are feeding or actively ambushing, you'll come up empty-handed. Generally, the best times coincide with moving water, as this stirs up the bottom and disorients baitfish, making them easier targets for the bottom-dwelling fluke.
The incoming and outgoing tides are almost always your best friends. Slack tide – that period of minimal current right before or after the peak of the tide – can be tough because the baitfish aren't moving much, and neither are the fluke. But as soon as that current picks up, everything changes. The moving water carries food, and it also creates those essential ambush points around structure.
Many seasoned Long Island Sound anglers swear by the "last two hours of the outgoing and first two hours of the incoming" as prime time, especially around major inlets, rips, and channels like Plum Gut, The Race, or even the numerous smaller tidal rivers that feed into the Sound. These areas feature strong currents that funnel bait, creating a smorgasbord for hungry fluke. The stronger the current, the more aggressive the fluke tend to be, as they have to react quickly to secure a meal.
Consider also the time of day. Early mornings and late evenings often offer slightly cooler water temperatures and lower light conditions, which can sometimes make fluke more active, particularly in shallower areas during the height of summer. Overcast days can also extend the feeding window, as the fish aren't as prone to retreat to deeper water to avoid bright sunlight. To truly maximize your time on the water, you'll want to be familiar with the Connecticut Fishing Season Dates and Closures to ensure you're fishing during legal periods for fluke.
Essential Gear for Fluke Jigging
Getting your gear right is half the battle when it comes to jigging for fluke. You don't need the most expensive setup on the market, but having the right tools for the job will make a world of difference in your success rate and overall enjoyment. Think sensitivity, strength, and the ability to present your jig effectively.
Rod, Reel, and Line Selection
For fluke jigging, you want a rod that's sensitive enough to feel those subtle "thumps" and "ticks" as a fluke inhales your jig, but still has enough backbone to set the hook and fight a decent-sized fish out of the current. A medium-light to medium power rod, typically 6'6" to 7'6" in length, with a fast or extra-fast action, is ideal. The fast action means the tip bends easily, giving you that critical sensitivity, while the stiffer mid-section allows for powerful hooksets. Many anglers find success with rods specifically designed for inshore jigging or even freshwater bass fishing rods if they have the right characteristics. Brands like St. Croix, Tsunami, or even some of the popular Ugly Stik models offer great options that you can often find on Amazon.
Pair that rod with a spinning reel in the 3000 to 4000 series size. This size offers a good balance of line capacity and retrieve power without being overly bulky. You want a smooth drag system, as fluke can put up a surprisingly good fight, especially larger "doormats." A reel with a high retrieve ratio (e.g., 6.0:1 or higher) can be beneficial for quickly taking up slack line, which is crucial for feeling those bites and maintaining contact with your jig.
When it comes to line, braided line is king for jigging. Its lack of stretch offers unparalleled sensitivity, allowing you to feel every bump on the bottom and every subtle bite. A 10-20 lb test braided line is usually sufficient, with 15 lb being a popular all-around choice. The thinner diameter of braid also means less water resistance, helping your jig get down to the bottom faster and stay there with less weight. You'll want to add a fluorocarbon leader to the end of your braid. Fluorocarbon is nearly invisible in water and is more abrasion-resistant than braid, protecting your main line from rocks and the fluke's sharp teeth. A 20-30 lb test fluorocarbon leader, about 3-6 feet long, is a good starting point. You can connect it to your braid with an FG knot or an Albright knot – practice these at home!
Jig Types and Colors That Work
The world of fluke jigs is vast, but a few types consistently prove their worth in Long Island Sound. The most common are bucktail jigs and soft plastic jigs.
Bucktail Jigs: These are classics for a reason. Bucktails, typically made with deer hair, come in various weights (from 1/2 oz to 4 oz, sometimes heavier for deep water or strong current) and colors. Their natural pulsing action in the water is incredibly enticing to fluke.
- Weights: The weight you choose depends heavily on the depth and current. In shallower waters (10-30 feet) with moderate current, 1/2 oz to 1 oz might suffice. In deeper channels (40-80+ feet) or areas with strong rips, you might need 2 oz, 3 oz, or even 4 oz bucktails to maintain bottom contact. The key is to use the lightest jig possible that still allows you to feel the bottom and control your drift. Too heavy, and your presentation looks unnatural; too light, and you'll never reach the strike zone.
- Colors: White, chartreuse, pink, and glow are perennial favorites. Often, a combination of two colors (e.g., white and chartreuse) works wonders. The key is to match the hatch if possible (e.g., using olive or natural colors if there's a lot of sand eels around) or use bright, contrasting colors to stand out in murkier water or low light.
- Tipping: A bare bucktail can work, but most anglers tip them with some form of bait or soft plastic. This adds scent, extra action, and bulk. Common choices include strips of squid, spearing (silversides), Berkley Gulp! artificial baits (like grub tails or swimming mullets), or even a small live killifish. This extra "sweetener" often makes the difference between a look and a bite.
Soft Plastic Jigs: These are usually jig heads paired with various soft plastic bodies. They offer incredible versatility in shape, color, and action.
- Jig Heads: Similar to bucktails, jig heads come in various weights. Lead, tungsten, or bismuth are common materials. Ball heads, banana heads, and stand-up heads are all popular, each offering a slightly different presentation.
- Soft Plastic Bodies: Grubs (curly tails), paddle tails, shrimp imitations, and fluke-specific "jerk shads" are all effective. The action of the tail on soft plastics can be incredibly lifelike in the water. Again, colors like white, chartreuse, pink, and natural baitfish patterns are excellent choices. Many anglers prefer larger profiles, 4-6 inches, to attract those trophy "doormat" fluke.
- Combining: Don't be afraid to combine a bucktail jig with a soft plastic teaser. This is a very popular and highly effective rig. You tie a short leader (6-12 inches) off the eye of your bucktail jig, ending with a small jig head and soft plastic, or a bare hook with a bait strip. This gives the fluke two targets and often leads to double-headers! A wide variety of soft plastics and jig heads are readily available on Amazon, making it easy to experiment.
Here's a quick comparison of common jig types for fluke:
| Jig Type | Pros | Cons | Ideal Conditions | Common Weights (oz) |
|---|---|---|---|---|
| Bucktail | Natural pulsing action, durable, classic choice | Can be expensive, needs tipping for best results | Versatile, good in current, varying depths | 1/2 to 4+ |
| Soft Plastic | Highly customizable, lifelike action, wide range of colors/shapes | Can be easily torn by fish or snags, less durable than bucktail | Good in calmer water, can be very effective with scent | 1/4 to 3 |
| Scented Soft Plastic (e.g., Gulp!) | Strong scent trail, high attraction, convenient | Can dry out quickly, more expensive per piece | All conditions, especially when fish are finicky | Used as a tip or on jig head |
Terminal Tackle and Leader Setups
Beyond your main line and leader, a few pieces of terminal tackle are essential for effective fluke jigging.
- Swivels: Always use a high-quality barrel or ball bearing swivel to connect your main braided line to your fluorocarbon leader. This prevents line twist, which can be a real headache when jigging and drifting. A small, strong swivel (size 7-10) is usually appropriate.
- Snaps/Clip-on Leaders: Some anglers prefer to use a small snap swivel at the end of their leader to quickly change jigs without having to re-tie. While convenient, some believe a direct knot connection to the jig is more subtle and provides better action. Experiment to see what works for you. If using a snap, choose a strong, compact one.
- Teaser Rigs: As mentioned, adding a teaser above your main jig can dramatically increase your chances. A simple dropper loop rig with a small bare hook (size 1/0-3/0) for a piece of squid or a small soft plastic on a tiny jig head (1/8-1/4 oz) tied 6-12 inches above your main bucktail or jig works wonderfully. You can also buy pre-tied fluke rigs that include a teaser hook, but tying your own allows for customization.
- Hooks: If you're tipping your bucktail with natural bait and not using a Gulp! or soft plastic body, ensure the hook on your bucktail is sharp and properly sized for the bait. For teasers, a long-shank bait holder hook can be effective for squid strips or spearing. Many anglers are also starting to use circle hooks, especially if fishing with live bait, as they are very effective at hooking fish in the corner of the mouth, leading to better release survival rates, though they require a different hookset technique (simply reeling tight rather than a hard jerk).
Remember, the goal is to keep your setup as streamlined as possible to maximize sensitivity and minimize resistance in the water. Heavy, clunky terminal tackle can detract from your jig's action and make it harder to feel bites.
Mastering Jigging Techniques for Fluke
Jigging for fluke isn't just about dropping a weight to the bottom. It's an art form that involves subtle rod movements, feeling the bottom, and anticipating the strike. There are a few core techniques that consistently produce results in Long Island Sound.
The Classic Lift-and-Drop Method
This is the bread and butter of fluke jigging, and it's deceptively simple in concept but requires a good feel. The goal is to imitate a wounded baitfish or a creature scurrying along the bottom, which is irresistible to an ambushing fluke.
Here’s how it works:
- Drop to the Bottom: Cast your jig a short distance (or simply lower it if directly beneath the boat) and let it sink until you feel it hit the bottom. You'll often see a slackening of your line or feel a distinct thud through your rod.
- Take Up Slack: Immediately reel in any slack line until you have direct contact with your jig. Your rod tip should be pointed down, parallel to the water, or slightly up.
- The Lift: With a swift but controlled motion, lift your rod tip upward, anywhere from 1 to 3 feet. This makes your jig dart up off the bottom. The height of your lift depends on current and fish activity; sometimes a short "twitch" is all it takes, other times a more aggressive sweep.
- The Drop (and Feel): Allow your jig to free-fall back to the bottom on a semi-slack line. This is the crucial part. As the jig falls, watch your line for any unusual twitches or pauses, and feel for that subtle tap or mushy sensation that indicates a fluke has inhaled your offering. Fluke often hit on the fall, so paying attention during this phase is paramount.
- Re-establish Contact and Repeat: As soon as you feel the jig hit the bottom, immediately take up any slack and repeat the lift-and-drop. You want to keep your jig in the "strike zone" as much as possible, which is usually right on or very close to the bottom.
The cadence of your lift-and-drop can vary. Sometimes a quick, aggressive snap-and-fall is best, mimicking a fleeing baitfish. Other times, a slower, more deliberate lift and gentle flutter might be more effective, especially if the fluke are sluggish. The key is to experiment until you find what the fish prefer on that particular day. Don't be afraid to vary your retrieve speed and the height of your lifts.
Drift Jigging Strategies
Drift jigging is arguably the most effective way to cover ground and find fluke when fishing from a boat in Long Island Sound. Instead of anchoring, you use the natural current and wind to move your boat and therefore your jigs across potential fluke hotspots. This allows you to present your bait to a wider area of fish.
- Understanding Your Drift: Before you even drop a line, pay attention to the wind and current. They will dictate your drift. A good fishfinder or chartplotter with a GPS will show you your boat's track over the bottom. You want a drift that covers prime territory – over humps, along channel edges, or through areas of patchy bottom.
- Controlling Your Drift Speed: Sometimes the wind and current are too fast, making it hard to keep your jig on the bottom. This is where a drift sock (sea anchor) comes in handy. Deploying a drift sock off the bow or stern can slow your boat down, giving your jigs more time in the strike zone and making it easier to maintain bottom contact with lighter weights. On the other hand, if the drift is too slow, you might need to use your trolling motor or main engine to bump up your speed slightly.
- Fan Casting: As your boat drifts, don't just fish directly beneath it. Make short casts out ahead of your drift, to the sides, and even slightly behind. This allows your jig to sink and cover different parts of the bottom as the boat moves, effectively "fan casting" a wider swath of territory.
- Maintaining Bottom Contact: This is the golden rule of fluke jigging while drifting. As your boat moves, your jig will want to "lift" off the bottom. You need to constantly manage your line, reeling in slack and letting out line as needed, to ensure your jig is always bouncing or dragging along the bottom. If you can't feel the bottom, your jig isn't in the strike zone. This might mean increasing your jig weight or deploying a drift sock. Remember, the Best jig weight for fluke drifting will depend entirely on the current and depth.
Drifting allows you to systematically explore areas. If you get a bite or catch a fish, mark that spot on your GPS. You can then often repeat that drift, or even make a shorter, more targeted drift over the productive area.
Reading Your Sonar for Fluke Hotspots
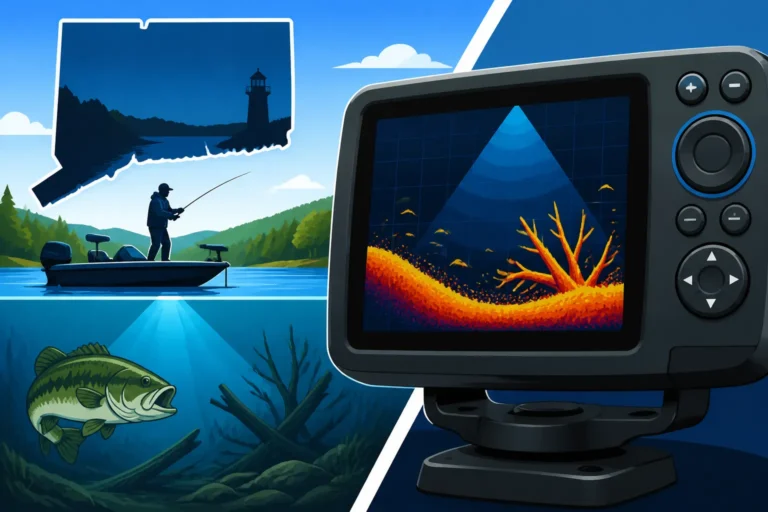
Your boat's fishfinder (sonar) is an invaluable tool for jigging fluke, but it's not just about seeing individual fish. It's about understanding the bottom structure and identifying potential holding areas.
- Interpreting Bottom Composition: Modern sonar units can differentiate between hard and soft bottoms. Hard bottoms (rock, shell, gravel) often show up as thicker, more intense returns on your screen, while soft bottoms (sand, mud) appear thinner and less intense. Fluke love those transitions and structure, so actively look for changes in bottom hardness.
- Identifying Structure: Humps, bumps, drop-offs, wrecks, and rubble piles will all show up on your sonar. These are prime ambush points for fluke. Learn to interpret these features on your screen. A sudden rise in the bottom, a sharp drop, or a cluster of returns indicating a wreck are all signs of potential fluke habitat.
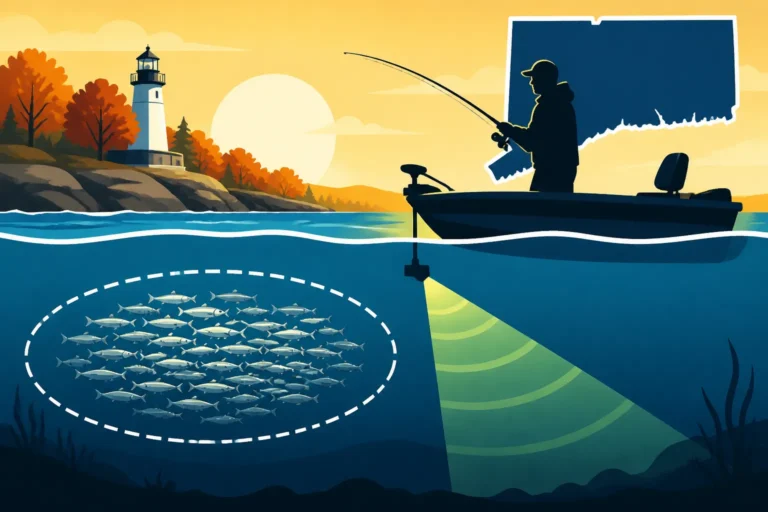
- Spotting Baitfish and Fluke: While fluke are masters of camouflage and often blend in with the bottom, sometimes you will see them as distinct "arches" or "streaks" lying directly on the bottom, or just a few feet off it. More importantly, look for baitfish schools. If you see clouds of baitfish, fluke are likely nearby, waiting for an opportunity.
- Using Side Imaging/Down Imaging: If your sonar unit has these advanced features, they can be incredibly helpful. Side imaging allows you to "see" out to the sides of your boat, revealing structure and fish that you might otherwise miss directly beneath. Down imaging provides a photo-like view of the bottom directly below, making it easier to interpret structures like wrecks or rock piles.
- Waypoint Management: When you catch a fish or find a particularly promising piece of structure, mark a waypoint on your GPS. This allows you to return to that exact spot later or make repeated drifts over it. A good chartplotter will become your best friend in systematically breaking down Long Island Sound. You'll likely also find valuable insights on Long Island Sound Fluke Fishing Spots from fellow anglers or fishing reports.
Locating Prime Fluke Jigging Spots
Long Island Sound is a vast body of water, and while fluke can be found almost anywhere there's suitable bottom, certain areas consistently produce better results due to their unique geological features and currents. Knowing where to start looking can save you hours of fruitless searching.
Targeting Structure and Bottom Features
Fluke are masters of camouflage, lying flat and blending in with the bottom. This means they rely heavily on structure and bottom features for ambush points. Your goal as an angler is to identify these spots and present your jig directly to them.
- Channel Edges and Drop-offs: These are classic fluke hotspots. As currents flow through channels, they create eddies and force baitfish along the edges. Fluke will position themselves along these drop-offs, facing into the current, ready to pounce. Look for changes in depth from 20 to 60 feet, especially where a shallow flat abruptly drops into a deeper channel.
- Wrecks and Reefs: Submerged wrecks, artificial reefs, and natural rock piles are magnets for baitfish, and consequently, for fluke. These structures provide both shelter and feeding opportunities. Jigging around these features requires precision and often heavier tackle to avoid snags, but the rewards can be substantial. Keep your jig as close to the structure as possible without getting hung up.
- Sand and Mud Transitions: Fluke love to bury themselves in sand or mud, but they're often found near areas where this soft bottom transitions to something harder, like shell hash, gravel, or rock. These transition zones offer the best of both worlds: a place to hide and a diverse food source. Your sonar will be crucial for spotting these subtle changes in bottom composition.
- Clam Beds and Mussel Beds: These productive ecosystems attract a variety of marine life, including the smaller invertebrates and baitfish that fluke feed on. If you can locate extensive clam or mussel beds, you've likely found a fluke pantry.
- Inlets and River Mouths: The strong tidal currents at the mouths of rivers and major inlets into Long Island Sound (like the Connecticut River, Niantic River, or Thames River) create powerful rips and eddies that funnel baitfish. Fluke will stack up in these areas, especially during the peak of the tide. These spots can be challenging to fish due to the strong current, often requiring heavy jigs (3-4 oz or more) to reach the bottom.
Key Areas within Long Island Sound
While specific spots can change year to year, some general areas in Long Island Sound are renowned for their fluke fishing opportunities.
- Eastern Sound (The Race, Plum Gut, Fishers Island Sound): This area is famous for its strong currents and deep-water structure, attracting larger fluke and abundant baitfish. The Race, particularly, is a legendary spot, though it can be challenging to fish due to extreme currents. Plum Gut and the waters around Fishers Island also hold significant numbers of fluke, especially during peak season. You'll often find charter boats like those from Best Fluke Charters on Long Island Sound focusing their efforts in these rich, productive grounds.
- Central Sound (Offshore of Niantic, Old Saybrook, Clinton): The central part of the Sound offers a mix of depths and bottom types. Areas like Hatchett's Reef, Black Point, and the various humps and bumps off Cornfield Point and Westbrook are well-known fluke producers. Many anglers find excellent drifting grounds on the sand flats adjacent to these deeper structures.
- Western Sound (Stamford, Norwalk, Greenwich): While often shallower and with less dramatic current than the eastern Sound, the western reaches still hold plenty of fluke, especially in the numerous bays, harbors, and around artificial reef sites. The structure around the Norwalk Islands or the reefs off Fairfield and Bridgeport can be very productive. These areas might require lighter tackle and more finesse, particularly when jigging in shallower water.
- Nearshore Reefs and Humps: Don't overlook smaller, lesser-known reefs or humps that might be closer to shore. These can often be found by studying nautical charts or asking local bait shops. They might not hold the quantity of fish as a major rip, but they can produce quality fluke, especially for those looking to avoid crowded spots. Remember that Connecticut Fluke and Summer Flounder Regulations apply throughout the Sound, so always check for current limits and seasons.
Common Challenges and Troubleshooting
Even with the best gear and knowledge, jigging for fluke can present its own set of challenges. The elements, the fish themselves, and the environment can all conspire against you. Learning to anticipate and troubleshoot these issues is a hallmark of a seasoned angler.
Dealing with Current and Wind
Current and wind are the two biggest factors affecting your drift and your ability to present a jig properly. They can be your best friend or your worst enemy.
- Too Much Current/Wind: If your boat is drifting too fast, your jig will "fly" off the bottom, making it impossible to stay in the strike zone. You'll feel no bottom contact, and you won't get bites.
- Solution 1: Increase Jig Weight. This is the most straightforward fix. Go up in jig weight (e.g., from 1 oz to 2 oz, or 2 oz to 3 oz) until you can consistently feel the bottom. Remember the goal is the lightest weight that maintains bottom contact, so don't just put on a cannonball if you don't need to.
- Solution 2: Use a Drift Sock. A drift sock, or sea anchor, is a cone-shaped device that deploys in the water and creates drag, slowing your boat's drift. Deploy it off the bow or stern, depending on how you want to orient your boat to the current/wind. It's an indispensable tool for fluke fishing in the Sound. Many anglers purchase good quality drift socks on Amazon before the season begins.
- Solution 3: Power Drift. If you have an outboard or trolling motor, you can use it to subtly reduce your drift speed by bumping it into and out of gear, or keeping it just barely engaged against the direction of the drift. This takes practice to get right without spooking fish.
- Solution 4: Change Location. Sometimes, the current or wind is simply too strong in one spot. Moving to a more protected area, a shallower flat, or a different side of an island might provide a more manageable drift.
- Too Little Current/Wind: Slack tide, or days with no wind, can lead to a very slow or non-existent drift. Fluke can become lethargic and less willing to chase.
- Solution 1: Use Lighter Jigs and Finesse. When the drift is slow, lighter jigs (1/2 oz or 3/4 oz) with more natural action can be key. A very slow, subtle lift-and-drop or even a gentle drag of the jig can sometimes entice a bite.
- Solution 2: Create Your Own Drift. Use your trolling motor or main engine at very low speed to create a slow, controlled drift. This "power drifting" allows you to cover ground and present your jig naturally, even when nature isn't cooperating.
- Solution 3: Target Stationary Structure. If drifting isn't working, consider anchoring up near a wreck, rock pile, or channel edge and fan-casting your jigs around the structure. This changes your approach from covering ground to targeting specific, known holding areas.
Minimizing Snags and Lost Gear
Long Island Sound is full of fish-holding structure, which unfortunately also means snag-holding structure. Losing expensive jigs and leaders is a common frustration, but there are ways to minimize it.
- Know Your Bottom: This goes back to reading your sonar. If you're drifting over a notoriously rocky bottom or a known wreck, be extra vigilant.
- Use the Right Weight: A jig that's too light will drag more, bouncing randomly and getting hung up in crevices. A jig that's too heavy will plunge straight into snags without much warning. The "lightest possible weight to maintain bottom contact" rule helps here, as it allows for a more controlled presentation.
- Minimize Scope: When jigging, try to keep your line as vertical as possible, especially over structure. A long scope of line (when your line is out at a sharp angle from the boat) means your jig is dragging horizontally, making it more prone to wedging into rocks.
- Feel the Bottom, Don't Drag It: When you feel your jig touch the bottom, immediately lift it a foot or two. Don't let it drag excessively. The idea is to bounce, hop, or flutter, not to scrape along.
- Pop, Don't Yank: If you do get snagged, resist the urge to violently yank your rod. This often just buries the jig deeper. Instead, reel down until your line is tight, then give a few sharp, quick "pops" upwards with your rod tip, like you're trying to set the hook. Sometimes this will free the jig. If not, try reeling down and pulling from a different angle as the boat drifts.
- "Break-away" Rigs: For especially snaggy areas, some anglers will rig their bucktail on a lighter leader (e.g., 20 lb test) while their main rig leader is heavier (e.g., 30 lb). This way, if the bucktail snags, you might only lose the jig and not the whole rig. You can also use a dropper loop for your jig, with the loop tied slightly weaker, so the jig breaks off before your entire mainline.
When Fluke Are Finicky: Adjusting Your Approach
Some days, the fluke just aren't cooperating. They're there, you see them on the sonar, but they won't bite. This is when you need to become a detective and adjust your tactics.
- Change Colors: If white or chartreuse isn't working, try pink, glow, natural baitfish colors (olive, black), or even purple. Sometimes a subtle change in color can trigger a bite.
- Vary Presentation Speed: Are you jigging too fast? Too slow? Try a very slow, subtle drag with minimal lifts, almost like a flounder scooting along. Or try a more aggressive, higher lift-and-drop to really get their attention.
- Downsize or Upsize: If they're not hitting your usual 1.5 oz bucktail, try a smaller 3/4 oz jig, or conversely, a much larger 3 oz jig with a big soft plastic. Sometimes a change in profile is all it takes.
- Add More Scent: This is where scented soft plastics like Berkley Gulp! shine. If the fluke are being picky, the strong scent trail from a Gulp! grub or strip can be the ultimate convincer. Even adding a dab of Pro-Cure or Fishbites to your natural bait can make a difference. These are popular items found on Amazon.
- Check Your Bait: Is your squid strip fresh? Is your spearing still lively? Sometimes a stale bait is all it takes to turn fish off. Ensure your bait is cut and rigged cleanly, allowing for natural action.
- Change Location (Slightly): If a spot isn't producing after 20-30 minutes, don't be afraid to move a short distance. Sometimes a slight change in depth (e.g., moving shallower or deeper on a drop-off) or moving to a different type of bottom can turn the bite on. Fluke can be very localized, so just a hundred yards can make all the difference. Remember, patience combined with a willingness to experiment is key. If you're struggling to find fish, perhaps reviewing strategies for Fluke Fishing in Long Island Sound more broadly will help.
Disclaimer
Fishing conditions and regulations in Connecticut can change frequently. Always consult the latest Connecticut Department of Energy and Environmental Protection (DEEP) fishing guides and regulations before heading out. This article is for informational purposes only and does not constitute legal advice regarding fishing regulations.